
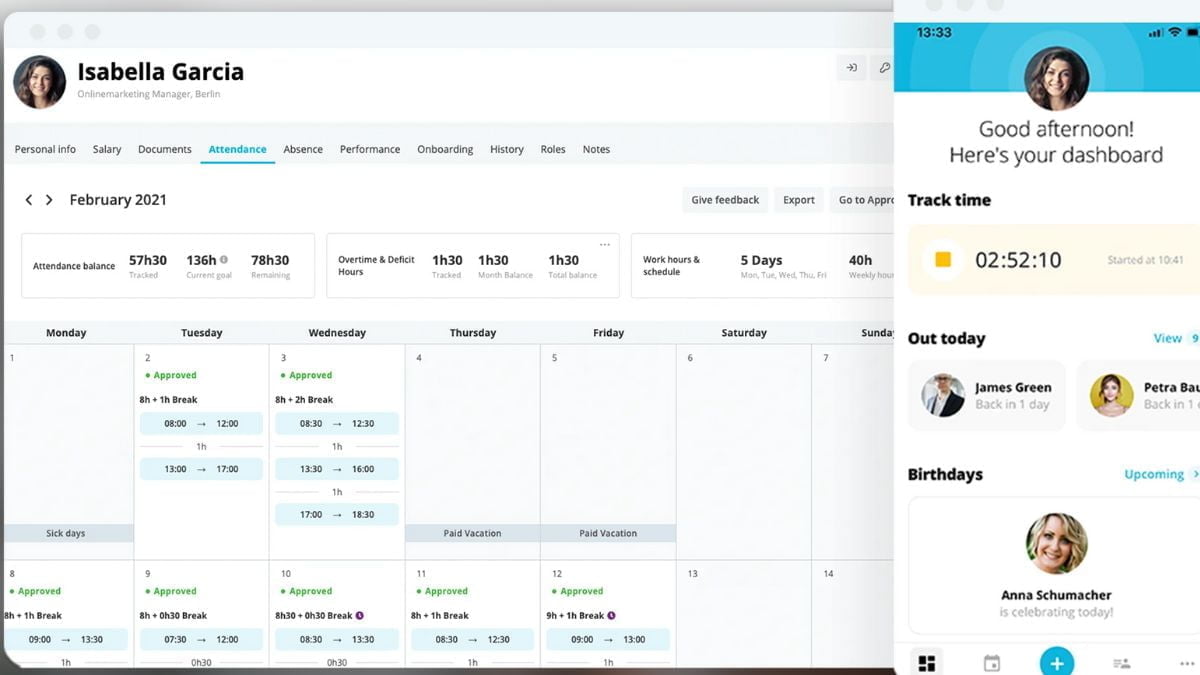
Honeypot, a popular platform for connecting companies with developers, has partnered with Personio, one of Germany’s giant Applicant Tracking Systems (ATS), to provide an integrated solution for recruiters. This seamless integration allows Honeypot customers with a Personio subscription to connect the two platforms easily and automate the transfer of candidate details.
Benefits of the Integration
By setting up the integration between Honeypot and Personio, recruiters can save time and effort by eliminating manual data entry. The integration lets recruiters automatically send candidate details from Honeypot to Personio, reducing administrative tasks and freeing time for more critical follow-up activities.
How does it work?
Once the connection is established, any developer who accepts an interview invitation from your Honeypot account will trigger the process. The candidate’s data, including their original message, CV (saved as a PDF), and Honeypot profile, will be automatically forwarded to Personio with the source label ‘Honeypot.’
This seamless data transfer ensures that all relevant candidate information is captured and available in Personio for different recruitment processes.
Setting up the Personio Integration on Honeypot
Setting up the integration between Honeypot and Personio is quick and straightforward. Here’s a step-by-step guide:
- Log into the Honeypot platform and click on your name in the top right corner of the navigation menu. Select “ATS Settings” from the dropdown menu to access the ATS connection options.
- In the ATS Settings page, navigate to the Personio section and click the “Connect” button.
- A pop-up window will appear, requesting your Personio account details. Enter the required account information, which can be found on the Personio platform. Once entered, click “Connect” to establish the connection between Honeypot and Personio.
Suppose you need assistance with locating the necessary data on the Personio platform. In that case, you can rely on the support of your dedicated Customer Success Manager, who will guide you through the setup process.
Enhance Your Recruitment Efforts Today
Integrating Honeypot with Personio can streamline your recruitment process, save time, and improve efficiency. Take advantage of this seamless integration to automate the transfer of candidate details and focus on building meaningful connections with top developer talent.
Locating the Required Personio Account Details for Integration
To successfully establish the integration between Honeypot and Personio, you must locate specific account details from your Personio platform. Here’s a step-by-step guide to finding these details:
Step 1: API Access Token and Company ID
Log into the Personio platform using the account you wish to connect. In the left navigation menu, click “Settings” and “API Credentials.” Locate the listed option on the API credentials page and click on it. This will reveal the API access token and the company ID.
Copy the API access token by clicking “Copy access token” and paste it into the corresponding field labeled “Recruiting API access token” on the Honeypot platform. Similarly, copy the company ID by clicking “Copy company ID” and paste it into the “Company ID” field on the Honeypot platform.
Step 2: Account Name
While still on the Personio platform, locate the URL bar in your browser. The text before “.personio.de” represents your company’s account name. For example, if the URL is “https://mycompany.personio.de/,” the account name is “my company.” Copy the text between “https://” and “.personio.de” and paste it into the corresponding field labeled “Account name” on the Honeypot platform.
Step 3: Channel ID
In the Personio platform, click “Settings” in the bottom section of the left navigation menu and then select “Recruiting.” On the Recruiting page, navigate to the “Channels” tab in the top navigation menu.
If a channel for Honeypot already exists, it will be listed as an option. Click on the channel name and copy the provided Channel ID. Paste this number into the “Channel ID” field on the Honeypot platform.
If your Channels list does not yet include an option for Honeypot, you need to create this channel. Select “Add new channel…” and follow the necessary steps. Once the new track is completed, click on it and copy the provided Channel ID.
Regarding technological matters, our team has written up an article. The following links provide below:
- Betpro Exchange.com Login: Step-by-Step Guide & Password Security
- Activate Voot on Smart TV & Apple TV: Stream Exclusive Shows
Step 4: Enable XML Feed
Ensure that the XML feed is enabled on Personio by following these steps:
- Go to “Settings” > “Recruiting” > “Recruiting” within the Personio platform.
- In the “Career page” tab, locate the “Activations” section.
- Activate the checkbox labeled “Enable XML feed.”
- Click on “Apply changes” in the bottom-right corner.
Step 5: Connect
After gathering all the required account details and completing the corresponding fields on the Honeypot platform, click the “Connect” button to establish the integration between Honeypot and Personio. Once clicked, the integration process will be initiated, enabling seamless data transfer between the two platforms.
By following these steps, you can quickly locate the necessary Personio account details and successfully set up the integration with Honeypot, streamlining your recruitment process and optimizing efficiency.
FAQs
What is the Honeypot-Personio integration?
The Honeypot-Personio integration allows customers with a Personio subscription to seamlessly transfer candidate details from Honeypot to Personio, streamlining the recruitment process.
What are the benefits of the integration?
The integration saves time and effort for recruiters by automating the transfer of candidate data. It eliminates manual data entry, allowing recruiters to focus on follow-up activities rather than administrative tasks.
How does the integration work?
When a developer accepts an interview invitation from your Honeypot account, their data is automatically forwarded to Personio with the source label ‘Honeypot.’ This includes the candidate’s original message, CV (saved as a PDF), and Honeypot profile.
How do I set up the integration?
To set up the integration, log into the Honeypot platform, go to ATS Settings, navigate to the Personio section, and click “Connect.” Enter your Personio account details and click “Connect” to establish the connection.
What account details do I need from Personio?
You will need the API access token, company ID, account name, and channel ID from your Personio account to set up the integration. These details can be found in your Personio platform settings.
Is assistance available for setting up the integration?
Your dedicated Customer Success Manager is available to help you through the setup process and assist with any questions or issues you may encounter.
Can I customize the integration or transfer additional data?
The integration transfers the candidate’s original message, CV, and Honeypot profile. Customization options may vary, so it’s best to consult your Customer Success Manager for specific requirements.
Is the integration available for all Honeypot and Personio customers?
The integration is available for Honeypot customers with a Personio subscription. Ensure you have the account details and contact your Customer Success Manager for further information.
Can I revoke the integration or make changes to the setup?
Yes, you can manage your integrations within the Honeypot platform. If you need to make changes or revoke the integration, consult the platform settings or contact your Customer Success Manager for assistance.
Leave a Reply